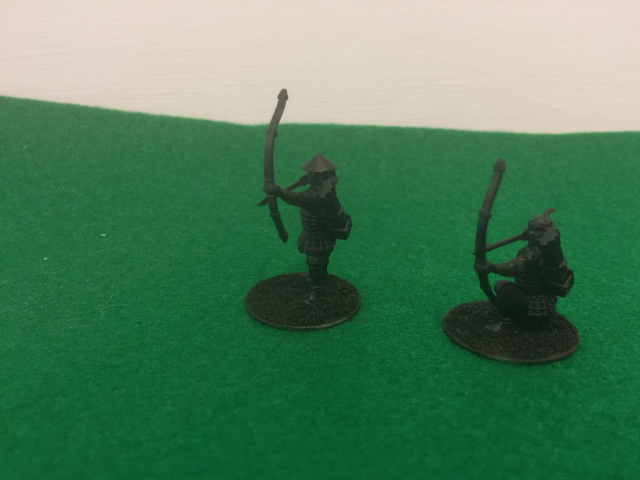
First step was to assembled the various models, then prime black using an airbrush because its easier than a brush.
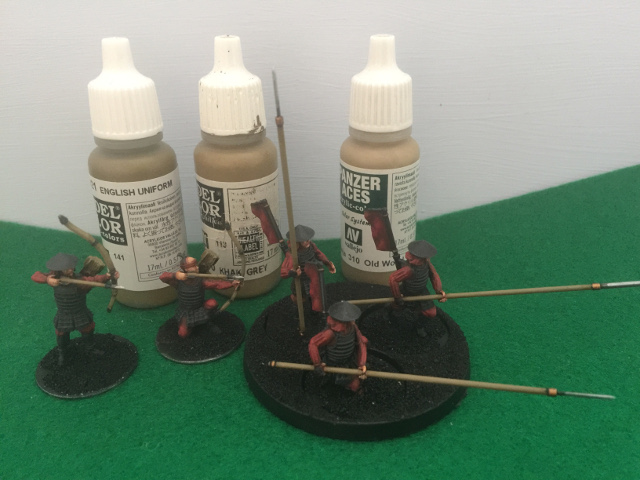
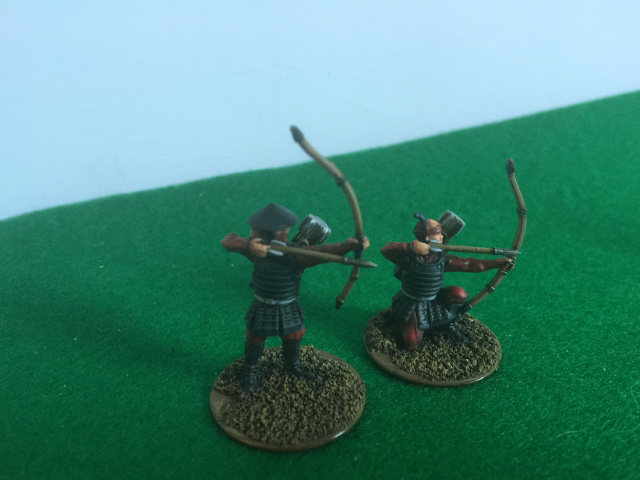
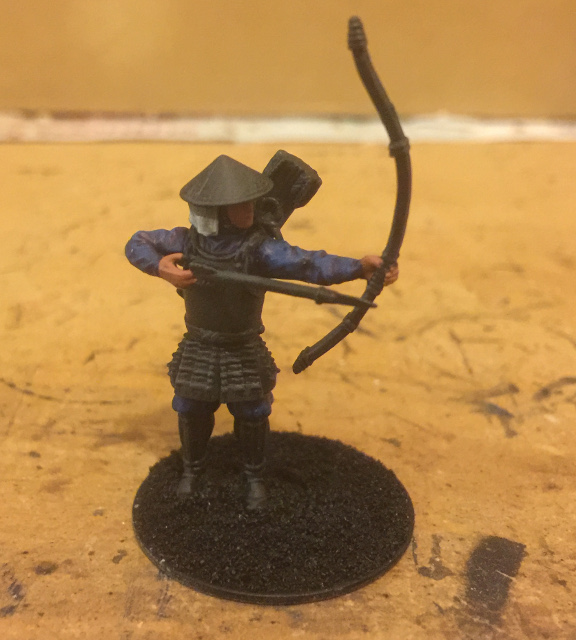
Pair of Archers
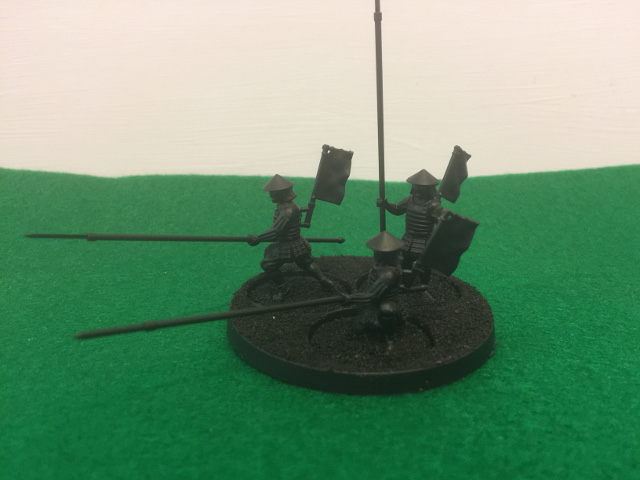
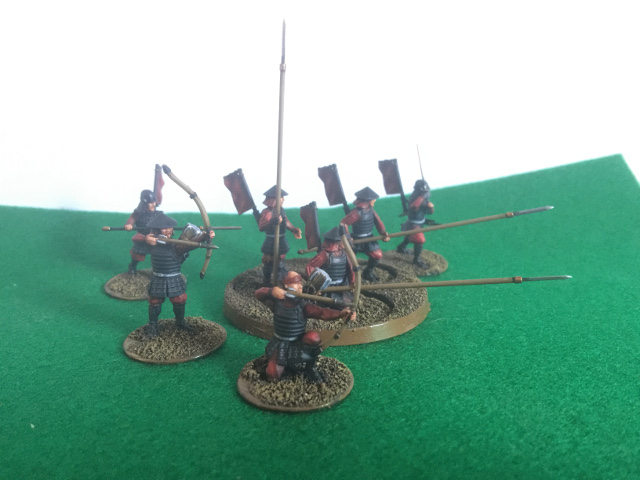
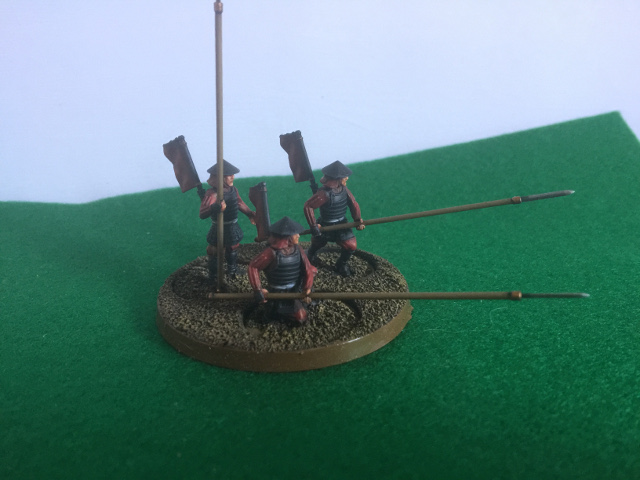
Group of Spearmen
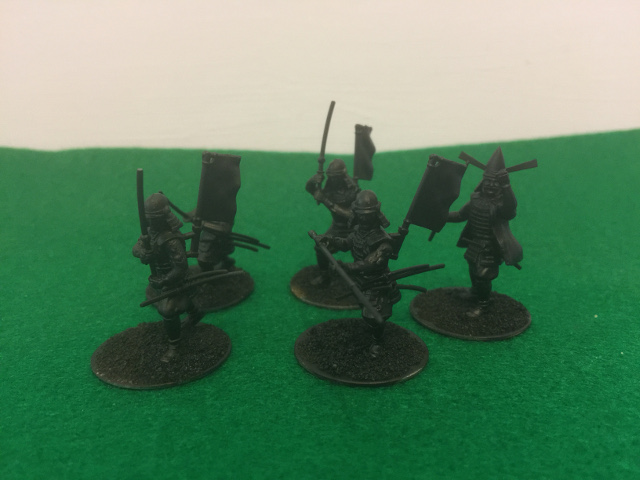
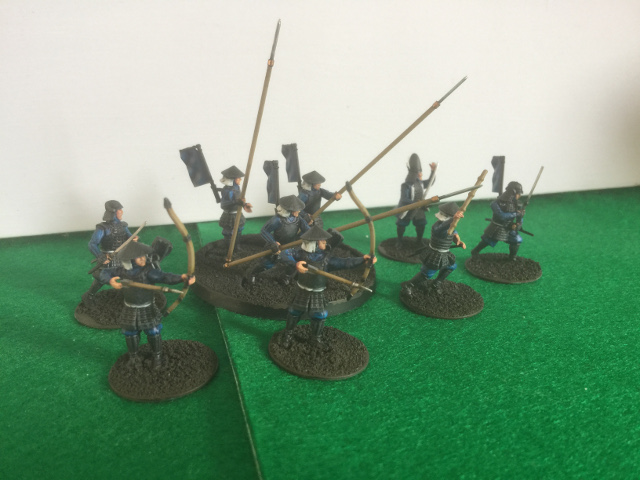
Bunch(?) of Samurai
The samurai models are terrible to assemble but look ok once done, the commoners are a lot nicer to assemble - bot could seriously do with something on the frames to indicate the pairs of arms and legs..
Anyway, primed, so on with the armour, the guide suggests dry brushing grey so thats what I did.
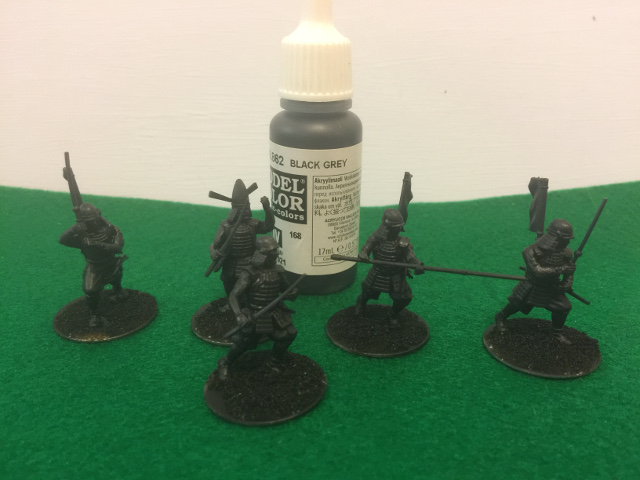
First step is a dry brush of Black Grey, a wonderful colour for highlighting black without it being too obvious.
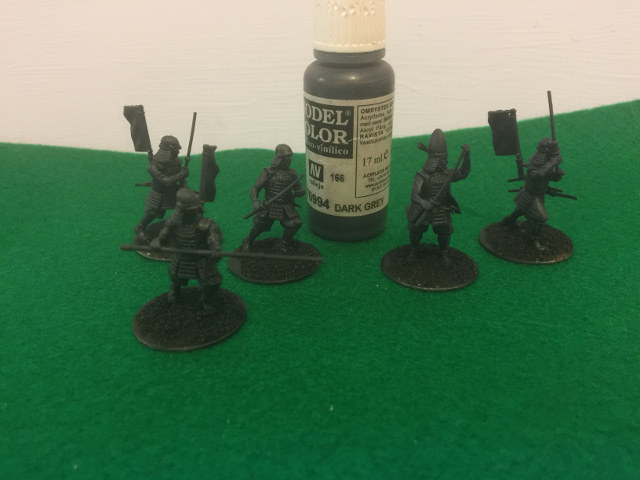
Second stage with Dark Grey, the two step process provides a more subtle effect than just the Dark Grey alone does and is worth the effort. The Dark Grey is only applied to the upper surfaces and this is the armoured bits essentially done.
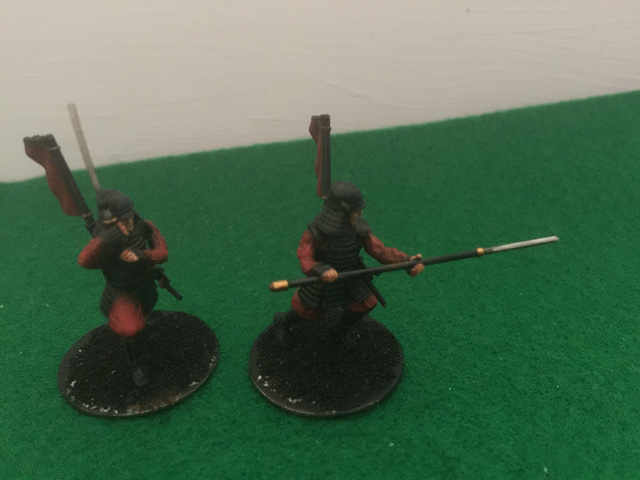
Three samurai are now put to one side, just two continue into the red stage (the others will be different colours)
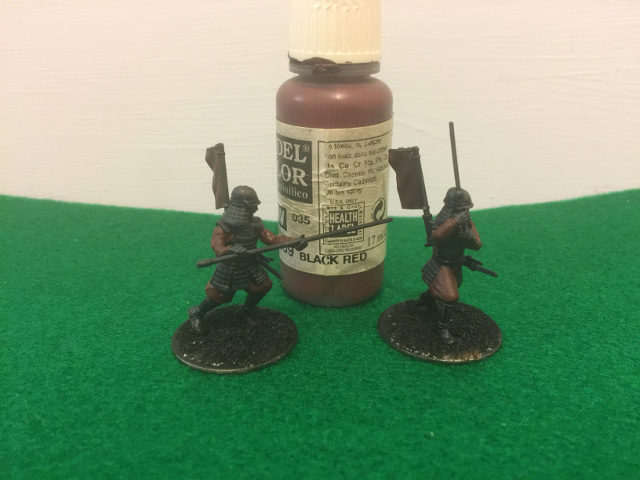
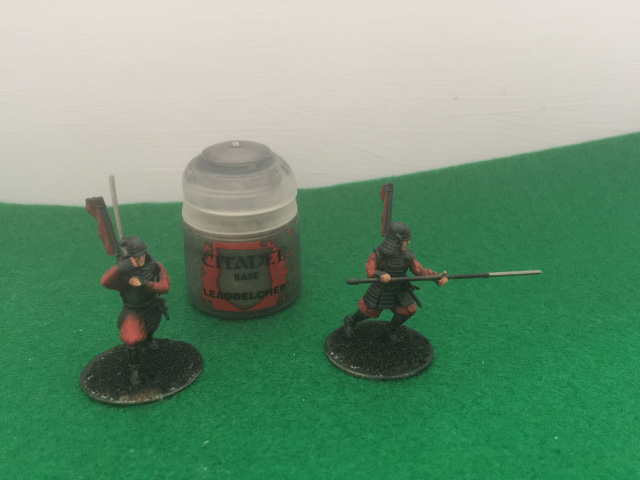
Black Red as a base for the red areas, again a useful colour thats dark enough to make a good base, especially over black.
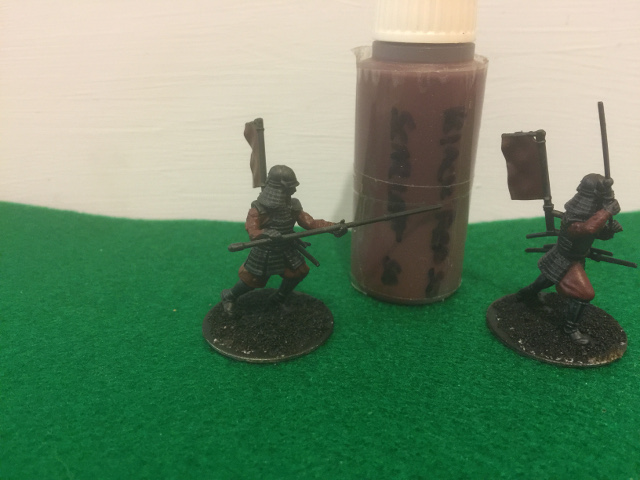
This is highlighted with a custom 50-50 mix of Black Red and Scarlet applied as a heavy dry brush except on the very deep areas.
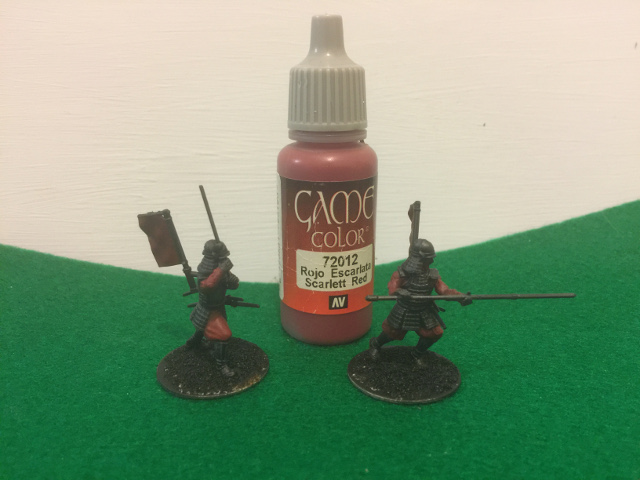
Further highlight of pure scarlet, you could leave it here for a dark red, indeed this scheme was borrowed from some high elves, which in turn borrowed it from some British Airborne…
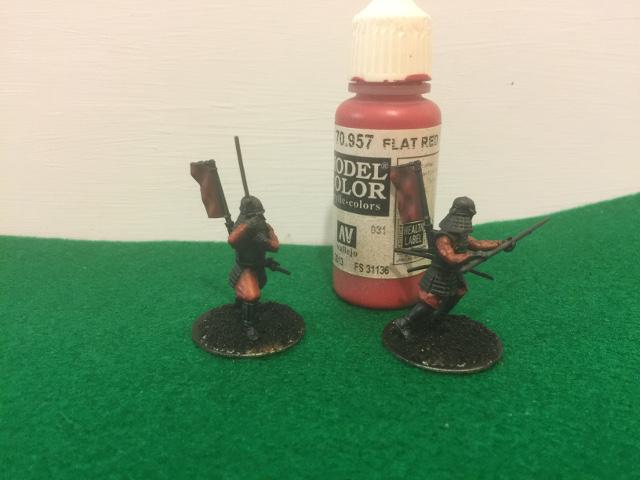
I wanted a brighter red though, so a further layer of Flat Red, which looks a bit unusual in the camera light
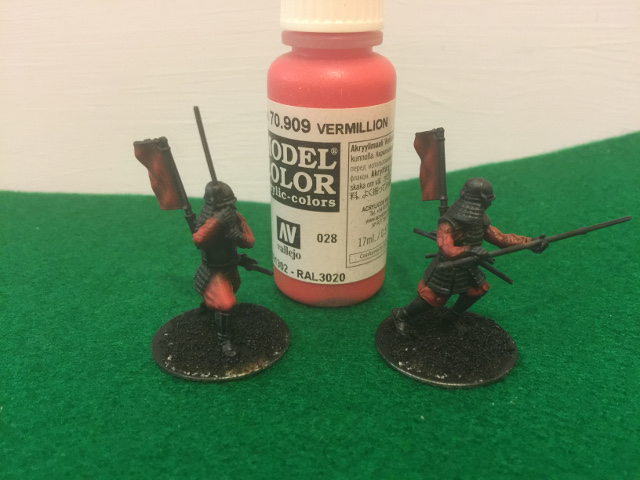
Finally a layer of Vermillion provided the finish to a nice bright red thats reasonably gentle in its effect, a good few layers but really doesn’t take all that long and I like the effect.
Next the flesh tones go on, again a method borrowed from elsewhere, perhaps for a larger army a base & wash method is better but this is a small force so reverted to layer/drybrush methods
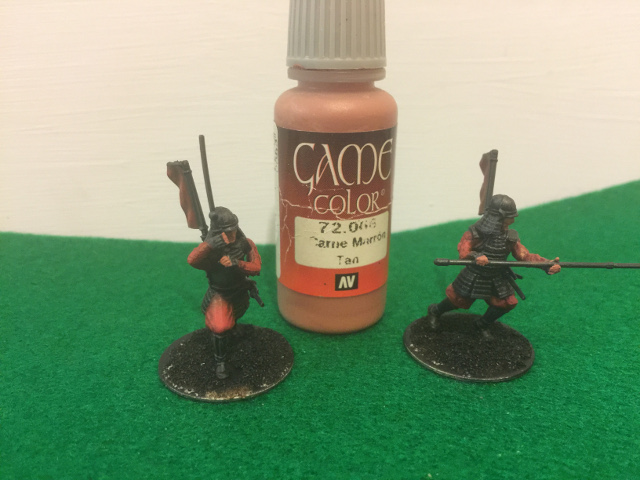
We start with a layer of Tan, well actually two layers of it over the black
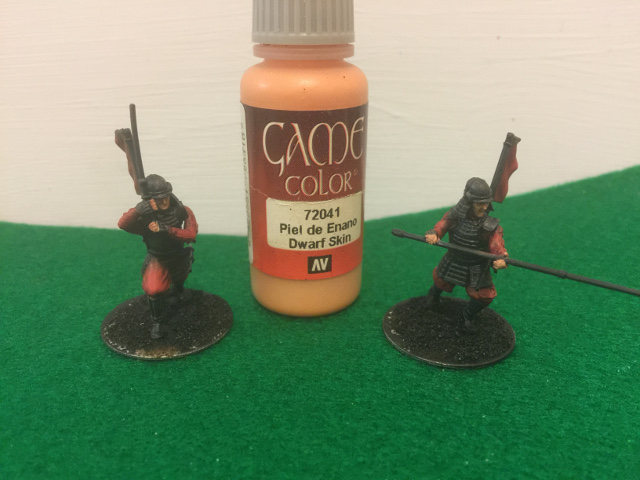
Drybrush two layers of Dwarf Flesh and it starts to look like skin
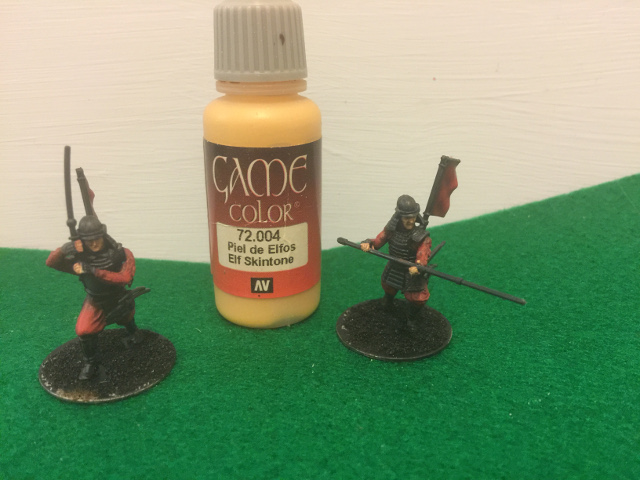
Drybrush Elf Flesh and you could leave it here, however I wanted a bit more depth so…
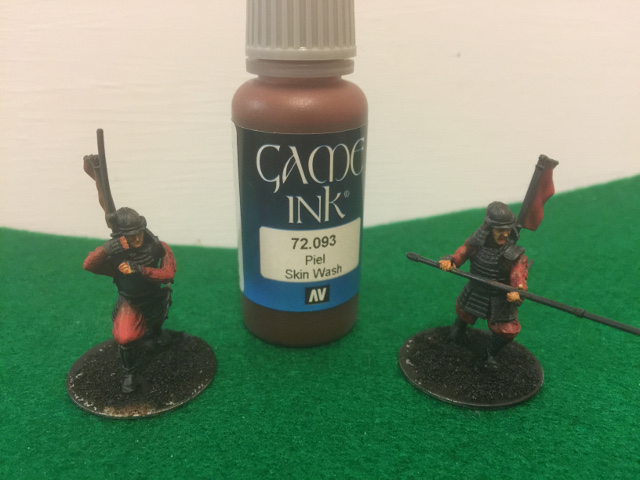
A diluted Skin Wash Ink is applied to recessed areas, models now look slightly sunburnt but the recesses are a nice defined colour which works well with the previous layers.
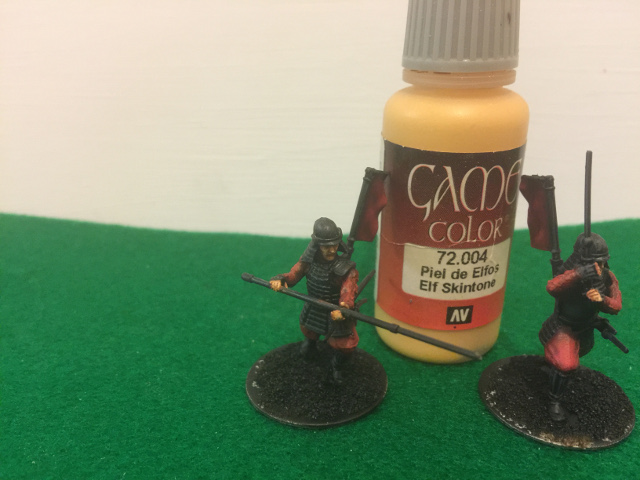
Final highlight with Elf Flesh and the skin is completed, Flat Flesh would probably work as well here.
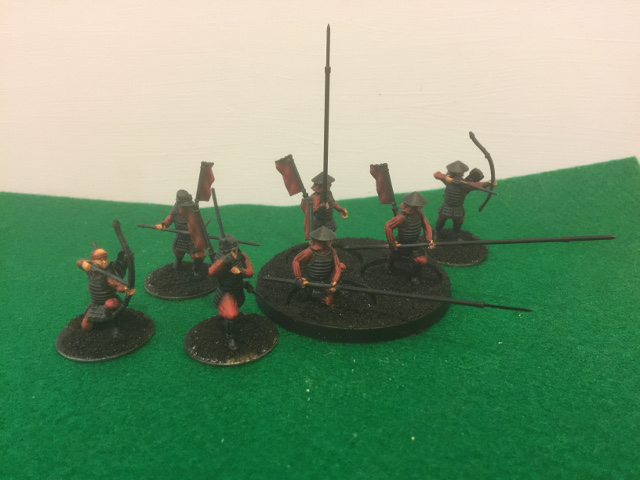
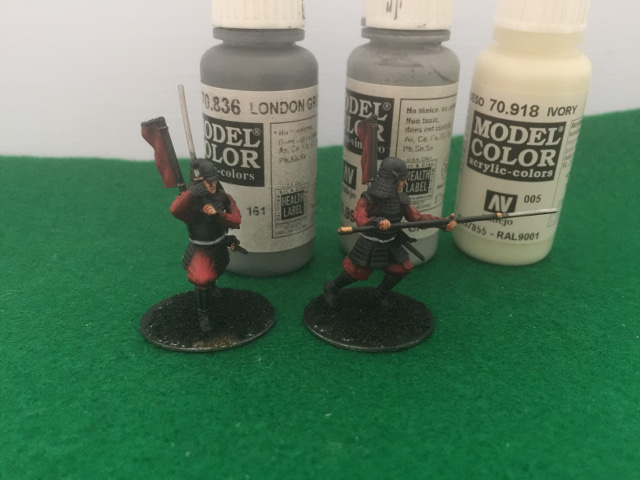
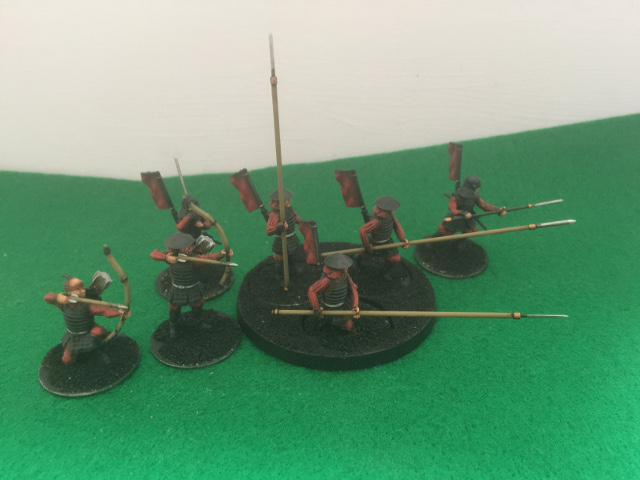
Final group picture showing the reds, blacks and skin tones completed. Obviously a fair bit more detail to go on still but they look pretty good I think, less time to paint this far than to actually assemble them.